Monday, January 9, 2012

Easy DIY Scrap Fabric Wreath

Yesterday I had a hankerin to make something. I chose a scrap fabric wreath and boy am I glad I did, it will be a perfect addition to Maile's sweet room. It didn't take too long and there was no sewing or needle work so I did it on the floor while playing with the girlies. Perfect.
1. Clip the hook off the top of a wire hanger and bend into a circular shape, it doesn’t
have to be perfect. I bent it with my hand first and then used my knee to get a
better shape. Wearing jeans helped.


2. Fabric Materials: *Rough estimates…do what you think looks good.
120 - 1” x 6 – 6.5” strips of desired fabric plus a few extra for filling in at the end.
140 - 2” x 6" tulle strips 10 extra for filling in when necessary.
*I used scrap fabric from past quilting projects…so I am not sure of the exact fabric yardage but I
would guess it is about a yard of regular fabric and a yard of tulle. (If you plan on a full tulle wreath I would have at least 2 yards on hand)
3. Tie all the tulle strips on with two knots. Don’t worry about placement, just yet.

4. Add them all in the same place, only because it is obnoxious to turn and turn and turn to get them in the right place. You are going to adjust them later anyway so why not all at the same time. :)

5. After the tulle has all been tied separate them into 3-5 strip clumps around the hanger.
6. Once you have separated
the tulle tie 5-6 strips of green in between each clump of tulle ties. Make
sure that as you tie the pattern is ending face forward.
*It was at this point that I realized my previous 9 inch strips were too long. 6 - 6.5 inches is the
perfect size to add volume without getting floppy. So I trimmed them ALL before adding more. You can do this later if you desire. Again, they don't have to be exact.
Finished green ties
7. Once the green strips are finished begin adding the pink alternating every other with the green but not with the tulle. The tulle should be clumped together to enhance it. (If you are making an all tulle wreath just remember to clump 3 or 4 strips of each color together)


8. After adding the last of the pink strips look for any empty spots and fill with more strips OR just roughly spread the strips around the hanger. If you look super close you may be able to see some hanger peeking out but it should not be noticeable from a foot away.
9. What it looks like after all the main strips are added and before any embelishments. If you think the length is too long, now is the time to carfully and evenly trim it down.
10. If you want you can add a few fabric accent pieces. Here I added a few brown with complimentary pink, white and green. I only had enough for 4 strips but I like the little pop it gives.
Up close of the brown accent fabric

11. Tie the ribbon to the top sides of the hanger. With the tie end toward the inside of the hanger.
The final product. It is going to hang on the wall above Maile's bed. So sweet!


Thursday, December 1, 2011

Chestnut Wreath tutorial


All you need to make this wreath is a wire hanger, a ribbon,
Lots of Chestnuts


Good thing there is a tree right in our back yard full of them(I don't hate it so much that so many of them fall everywhere, now)
And a drill
I drilled a hole in each of the chestnuts, bent the wire hanger into a double wreath shape with about 8 or 10 inches extra to hang(unnecessary), and strung the chestnuts on, secured the wire, tied a ribbon and that was it!  Enjoy!!


Wednesday, November 30, 2011

30 Days of HAIR!!!! Day 30!!!!


DAY 30!!!  I can't believe this is the last day.  Crazy.  Anyway.  This one is another complicated one.  I thought the last one should be.  I'll try to explain it as clearly as I can.  I started by parting my hair into 3 sections.  I put an elastic around each of the two sections on the outside, then did a french braid with the middle section going from the back to the front, using an elastic to secure in the front.  I then divided the side sections into 3 equal parts.  Here is where it gets tricky.  I started in the back with the bottom sections and french braided those sections toward the front, then crossed them, continuing with a regular braid until it could reach the opposite side to the second section on each side, then switched back to a french braid for the next section.  Then I repeated until all of the hair was braided.  So starting at the bottom there should be one braid down the middle of your head and one from each side, both making v's, crossing the middle twice.  Wow.  Does that sense?  PLEASE ask questions if it doesn't.  From this point with the hair completely braided I basically tangled the brades together and pulled them apart until there was a pleasant little pile in the front, then I secured it with bobby pins.  Ta-da!  Take that 30 days of Hair!  Enjoy!!!

Tuesday, November 29, 2011

30 Days of HAIR!!!! Day 29!!!

OH, hellooo.


Yes, I am wearing a robe...bahahah...I was cold...


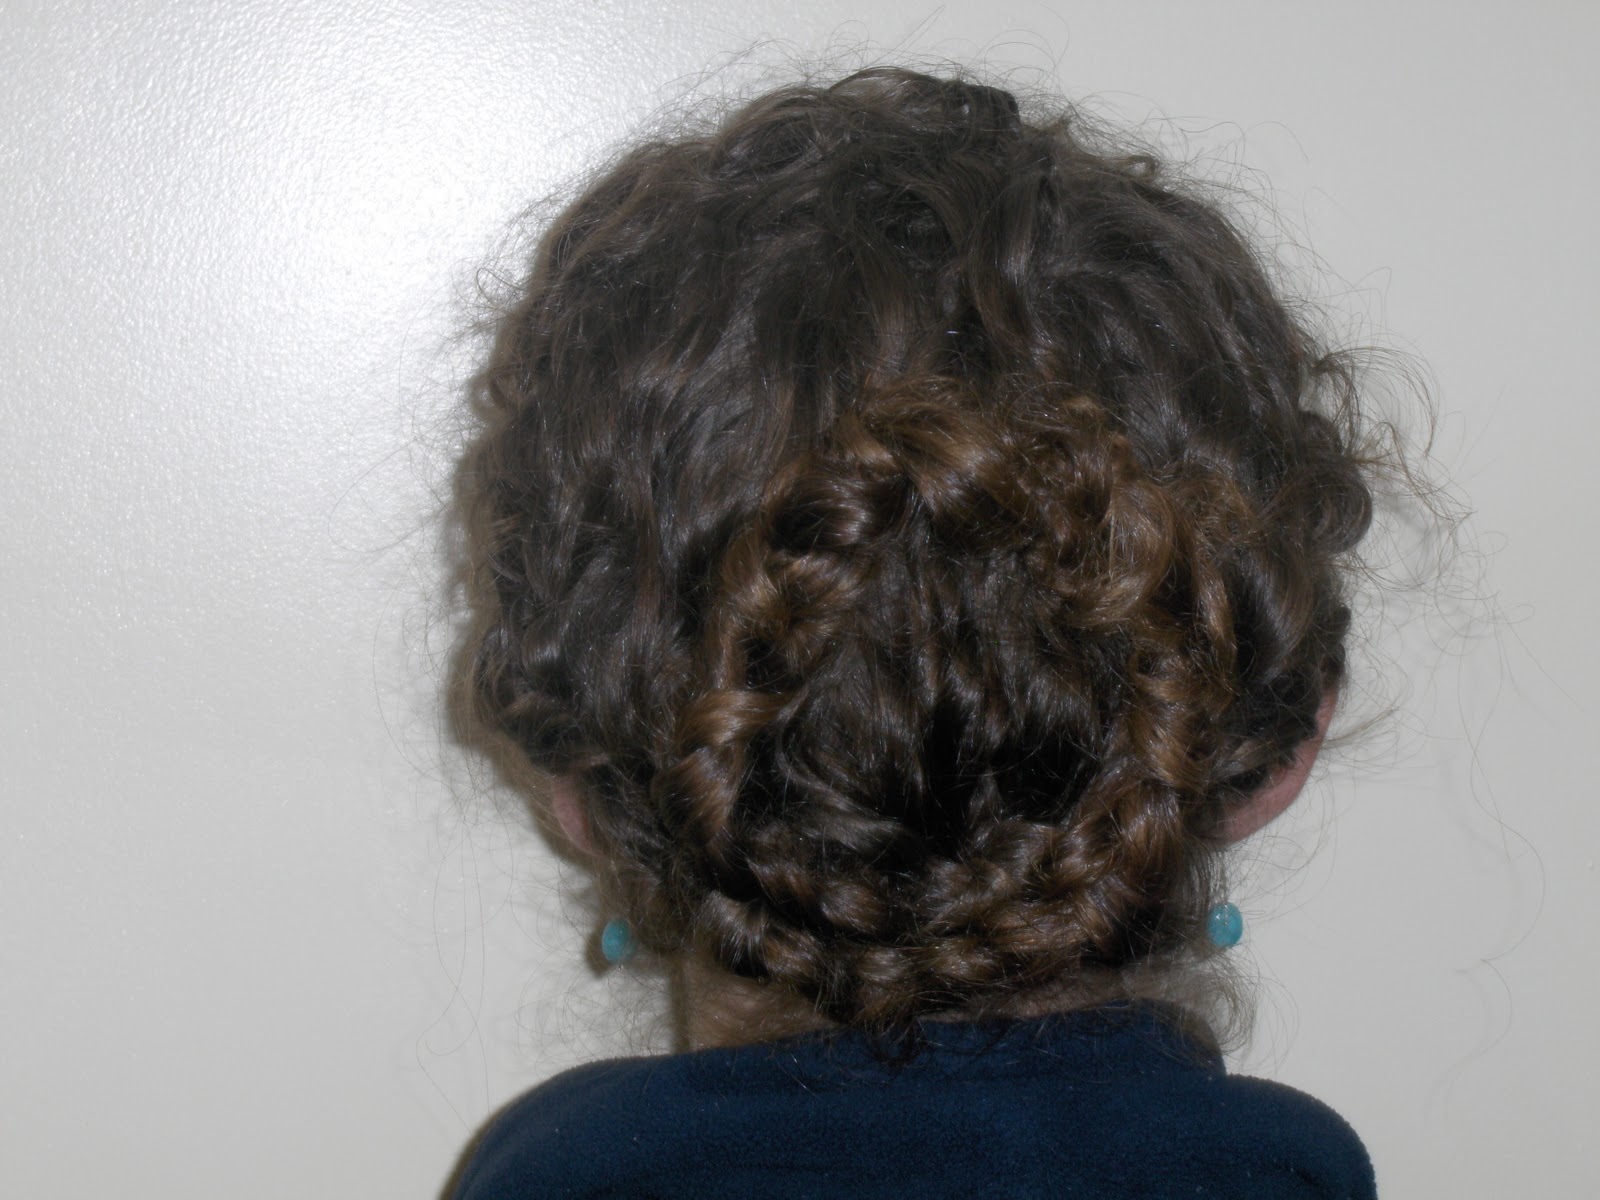
Again these pictures were taken SO late at night, after wrestling with the boys, etc, so sorry about the extra frizz.  In the first hairstyle I had a hard time picking out the braids from the picture, so I recreated the look, which is the second style.  For both of them I started by my ears and did french braids, almost like pigtails, staying as close to the hairline as possible.  I then took the braids and wrapped them up into a circle...almost like a wreath.  Bahah....I'm so festive...   Anyway, I secured them with bobby pins.  With the first style I started more on the top of my head in the back and didn't braid all of the hair and kind of made a bun in the middle of the braid circle with the remaining hair.  Anyway, only one day left!!!  Yipes!!  So sad and happy it's almost over...Enjoy!!!

Monday, November 28, 2011

30 Days of HAIR!!!! Day 28!!!


 Here is where I got the idea for this hairstyle.  It took a little while, but It came out.  The tutorial is pretty easy to follow and they have a lot of other hairstyles geared toward little girls.  Enjoy!!!

Sunday, November 27, 2011

30 Days of HAIR!!!! Day 27!!!


This is the one hairstyle, that I can honestly say I thought was entirely original and creative and new and my own.  I started doing this about 3 years ago and it is my go to hairstyle when I want something quick and fancy.  I always get lots of comments on it and I love it.  However, as I was gearing up to do the 30 Days of Hair project I found this...way to steal my thunder!  Anyway, this is the same basic hairstyle, one by itself and one with a ribbon.  It's so easy.  I usually kneel on the floor(for balance, hahaha) and put my head upside down and start a french braid at the base of my hairline in the middle of my neck.  I continue braiding just as I would a normal french braid until I get to the front and all of the hair is braided, then I pull the braid a little bit to loosen it up, lump it in an aesthetic pile and secure it with bobby pins.  Done.  For the ribbon you just use a fairly long ribbon and incorporate it into the braid, using it just as you would a piece of hair.  When I got to the front I wasn't really sure what to do with it, so I just tucked it into the pile and secured it with the rest of the hair.  Please keep in mind these last pictures were taken at 1 am...sometimes we stay up too late.  Enjoy!!!

Saturday, November 26, 2011

30 Days of HAIR!!! Day 26!!!


This is another one of my favorites.  For this one I did a french twist up the back, securing with bobby pins.  I then brought the twist over to one side and up to my temple, still using bobby pins to secure.  At this point I continued the twist, but twisted it under in the front, making a sort of "bangs" look.  This was a little more difficult to secure, but I just lifted the twist up a bit, secured it with bobby pins to my front hairline and then laid the twist back down, making sure the end was twisted underneath as well.  I would love to see pictures if anyone attempts this!  Enjoy!!