When we got back from 6 months away in Utah, I was excited to start vegetable gardening in earnest. I went down to the back of our property where, years ago, Kevin built 3 lovely 4'X12' raised beds that we hadn't used in several years. They were so overgrown with grass that I couldn't even find them!
I wish I'd thought to take a before picture, but
after an entire Saturday morning of forced child labor, clearing out waist-high grass (leaving us with a lovely fairy tale haystack), this is what the beds looked like:
Sigh, still lots of work to do. It took 2 weeks of working an hour or two every day to get the grass and its roots out of the beds. Here you can see the difference in one bed:
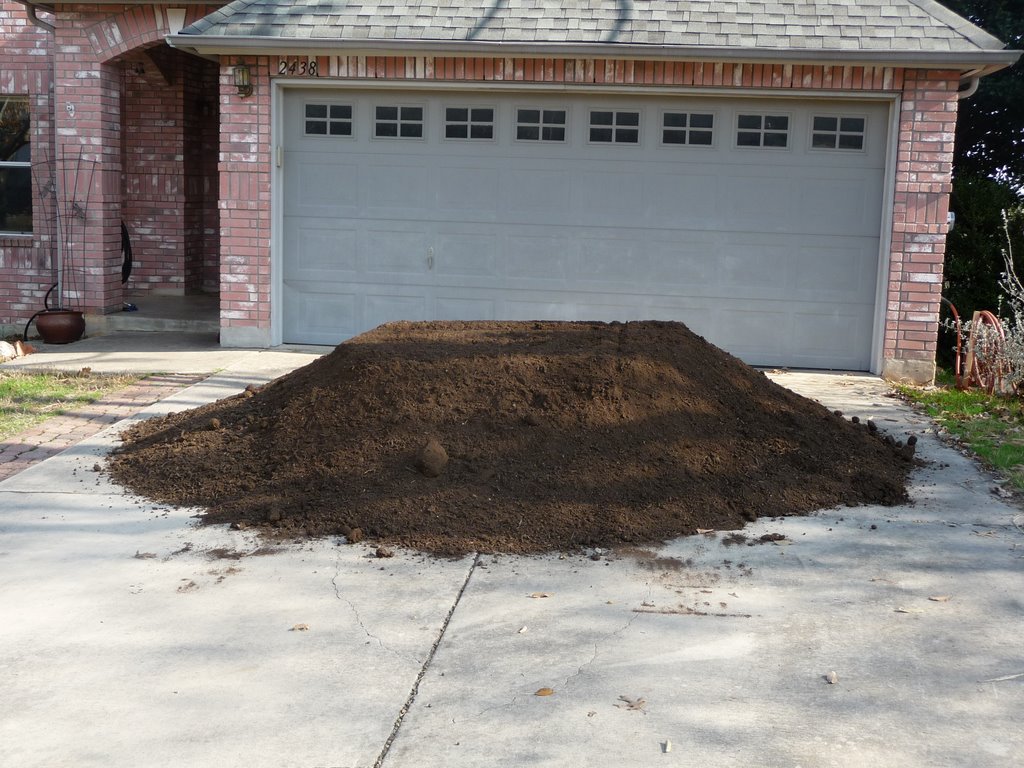
You can't grow plants in our San Antonio clay/limestone combo, so we had to bring in soil when we originally made the beds. Much of that soil was gone and the rest was so full of grass roots that little remained when I was done pre-weeding. We had to truck in more to plant this year:
We chose a great organic soil mix that was already loaded with compost. The pile doesn't look very big, but at just under 5 cubic yards it took a while to move down to the beds!
To give us more planting room, we acquired a couple of 4'X4' ready-made raised beds from Costco. I pick-axed the grass out from around the beds to level the ground, then laid professional-grade ground cloth all around the beds to prevent a recurrence of the grass I worked so hard to remove! Here's what the planting-ready beds finally looked like:
You can see a dog kennel in the background of a few of these pictures. Since we don't use it any more for dogs, and since we have to fence our gardens to keep the dogs and deer out I decided to use it to give us even more garden space. I pick-axed out the rocks and buffalo grass in an area roughly the size of the kennel, outlined it with heavy-duty ground cloth, brought in several wheelbarrows full of soil, and used spare bricks to define some mounds. I set the kennel on top and voila! A new garden space!
Ok, so that's the story of preparing to plant which took place in January/February (you should see my muscle definition about now - impressive!)
You're probably dying to know what we planted and how it's doing ;-) Stay tuned for the next installment!!