Thursday, December 1, 2011

Chestnut Wreath tutorial


All you need to make this wreath is a wire hanger, a ribbon,
Lots of Chestnuts


Good thing there is a tree right in our back yard full of them(I don't hate it so much that so many of them fall everywhere, now)
And a drill
I drilled a hole in each of the chestnuts, bent the wire hanger into a double wreath shape with about 8 or 10 inches extra to hang(unnecessary), and strung the chestnuts on, secured the wire, tied a ribbon and that was it!  Enjoy!!


Wednesday, November 30, 2011

30 Days of HAIR!!!! Day 30!!!!


DAY 30!!!  I can't believe this is the last day.  Crazy.  Anyway.  This one is another complicated one.  I thought the last one should be.  I'll try to explain it as clearly as I can.  I started by parting my hair into 3 sections.  I put an elastic around each of the two sections on the outside, then did a french braid with the middle section going from the back to the front, using an elastic to secure in the front.  I then divided the side sections into 3 equal parts.  Here is where it gets tricky.  I started in the back with the bottom sections and french braided those sections toward the front, then crossed them, continuing with a regular braid until it could reach the opposite side to the second section on each side, then switched back to a french braid for the next section.  Then I repeated until all of the hair was braided.  So starting at the bottom there should be one braid down the middle of your head and one from each side, both making v's, crossing the middle twice.  Wow.  Does that sense?  PLEASE ask questions if it doesn't.  From this point with the hair completely braided I basically tangled the brades together and pulled them apart until there was a pleasant little pile in the front, then I secured it with bobby pins.  Ta-da!  Take that 30 days of Hair!  Enjoy!!!

Tuesday, November 29, 2011

30 Days of HAIR!!!! Day 29!!!

OH, hellooo.


Yes, I am wearing a robe...bahahah...I was cold...


Again these pictures were taken SO late at night, after wrestling with the boys, etc, so sorry about the extra frizz.  In the first hairstyle I had a hard time picking out the braids from the picture, so I recreated the look, which is the second style.  For both of them I started by my ears and did french braids, almost like pigtails, staying as close to the hairline as possible.  I then took the braids and wrapped them up into a circle...almost like a wreath.  Bahah....I'm so festive...   Anyway, I secured them with bobby pins.  With the first style I started more on the top of my head in the back and didn't braid all of the hair and kind of made a bun in the middle of the braid circle with the remaining hair.  Anyway, only one day left!!!  Yipes!!  So sad and happy it's almost over...Enjoy!!!

Monday, November 28, 2011

30 Days of HAIR!!!! Day 28!!!


 Here is where I got the idea for this hairstyle.  It took a little while, but It came out.  The tutorial is pretty easy to follow and they have a lot of other hairstyles geared toward little girls.  Enjoy!!!

Sunday, November 27, 2011

30 Days of HAIR!!!! Day 27!!!


This is the one hairstyle, that I can honestly say I thought was entirely original and creative and new and my own.  I started doing this about 3 years ago and it is my go to hairstyle when I want something quick and fancy.  I always get lots of comments on it and I love it.  However, as I was gearing up to do the 30 Days of Hair project I found 
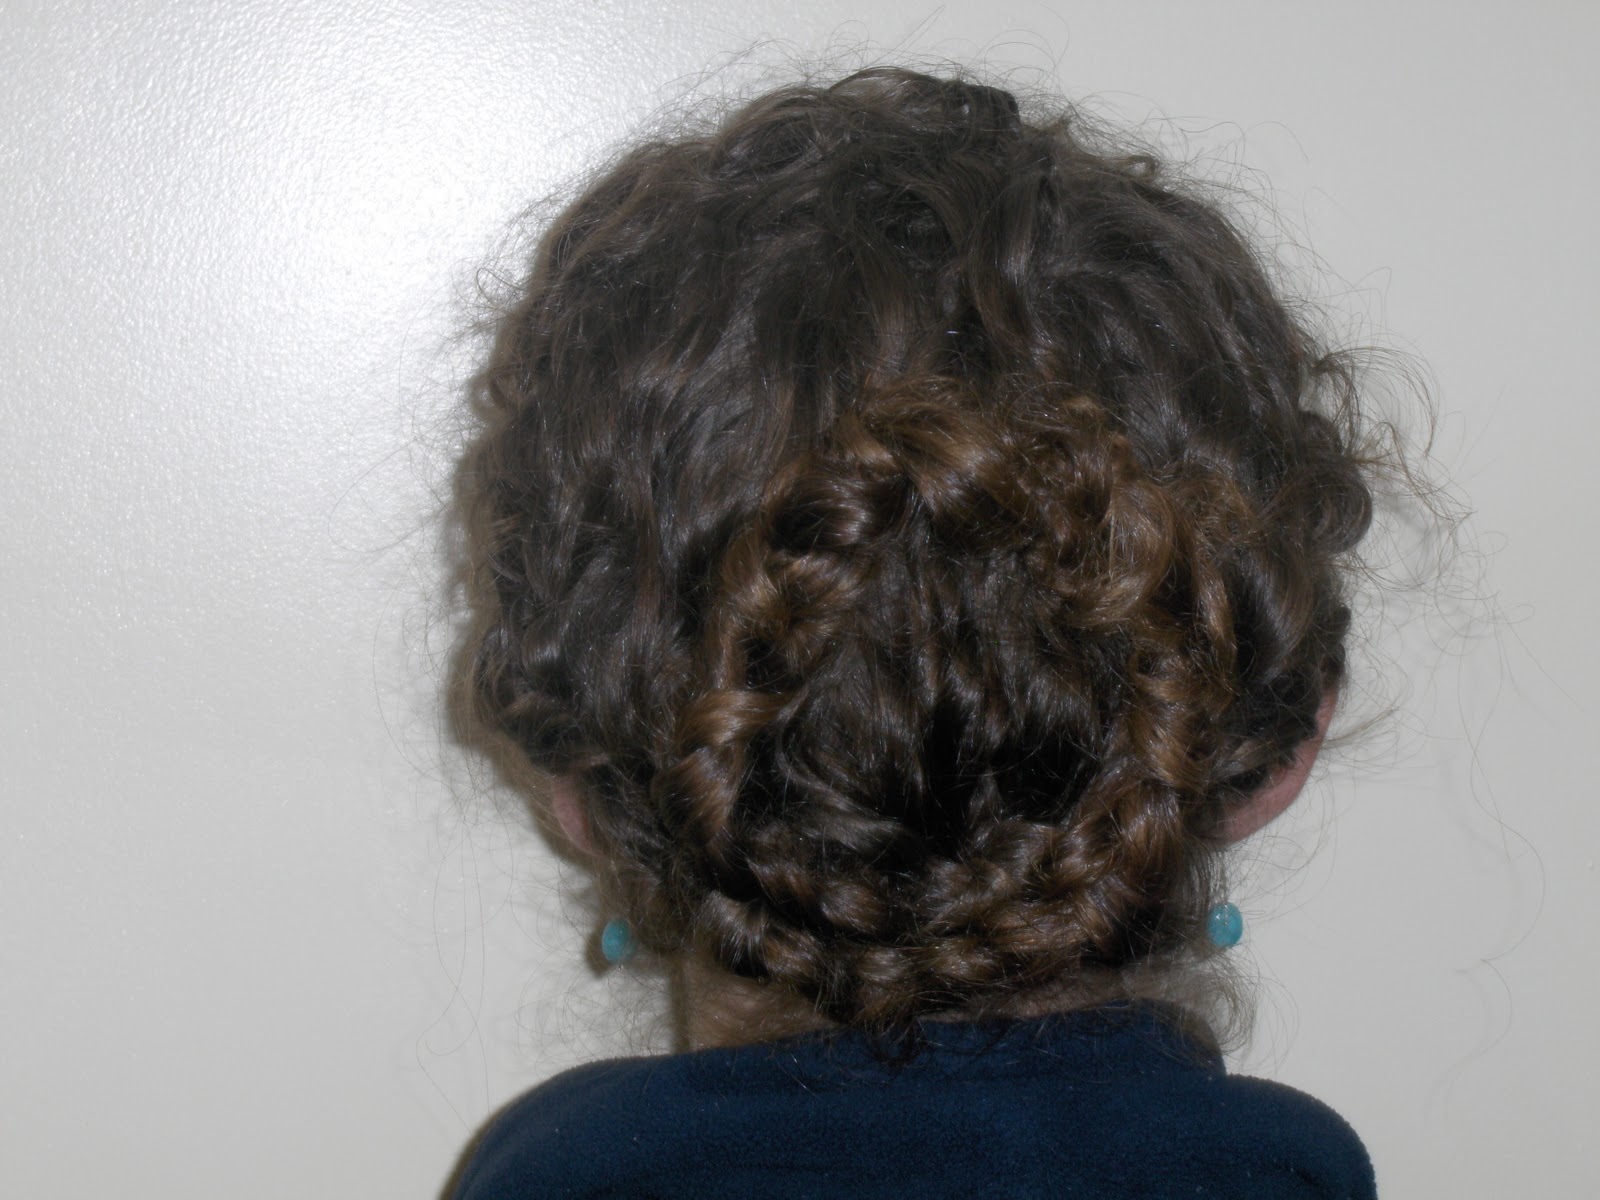
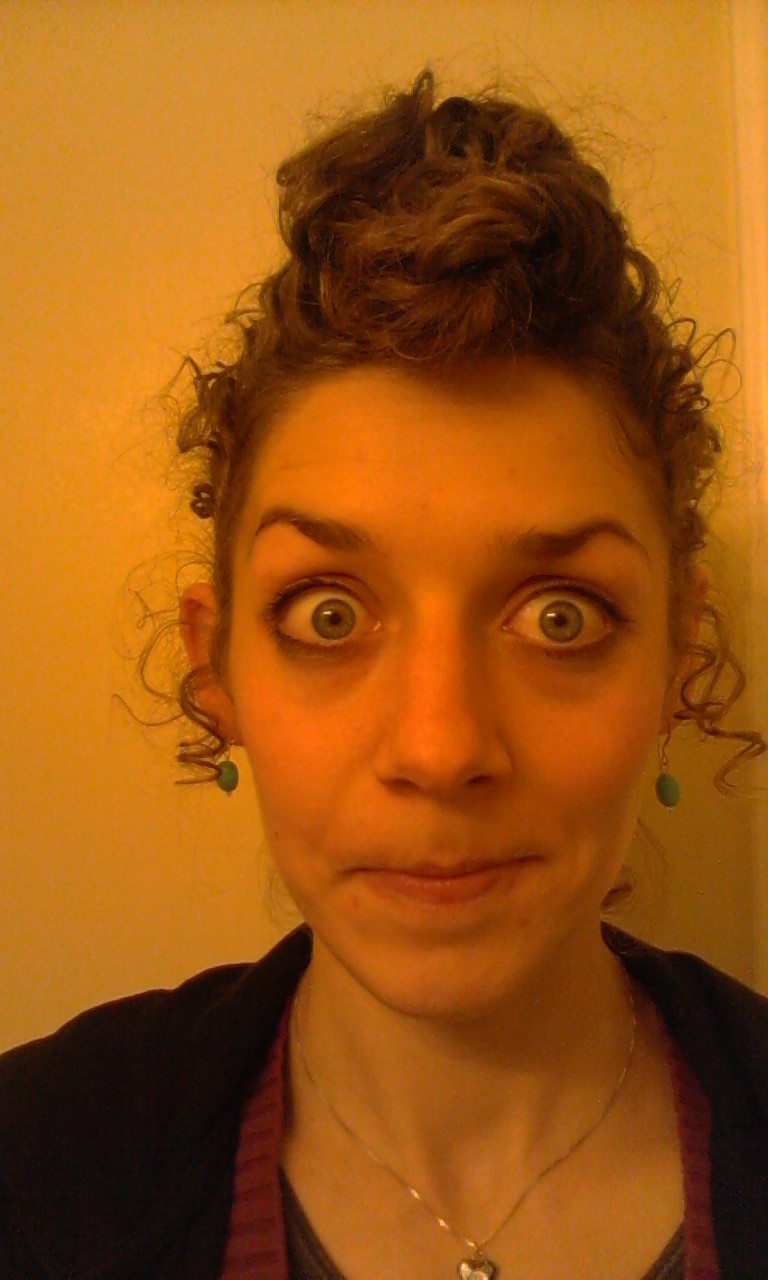
this...way to steal my thunder!  Anyway, this is the same basic hairstyle, one by itself and one with a ribbon.  It's so easy.  I usually kneel on the floor(for balance, hahaha) and put my head upside down and start a french braid at the base of my hairline in the middle of my neck.  I continue braiding just as I would a normal french braid until I get to the front and all of the hair is braided, then I pull the braid a little bit to loosen it up, lump it in an aesthetic pile and secure it with bobby pins.  Done.  For the ribbon you just use a fairly long ribbon and incorporate it into the braid, using it just as you would a piece of hair.  When I got to the front I wasn't really sure what to do with it, so I just tucked it into the pile and secured it with the rest of the hair.  Please keep in mind these last pictures were taken at 1 am...sometimes we stay up too late.  Enjoy!!!

Saturday, November 26, 2011

30 Days of HAIR!!! Day 26!!!


This is another one of my favorites.  For this one I did a french twist up the back, securing with bobby pins.  I then brought the twist over to one side and up to my temple, still using bobby pins to secure.  At this point I continued the twist, but twisted it under in the front, making a sort of "bangs" look.  This was a little more difficult to secure, but I just lifted the twist up a bit, secured it with bobby pins to my front hairline and then laid the twist back down, making sure the end was twisted underneath as well.  I would love to see pictures if anyone attempts this!  Enjoy!!

Thursday, November 24, 2011

30 Days of HAIR!!! Day 25!!!


This was a bit complicated to figure out, but I like the final outcome.  I got the original inspiration from pinterest.  I love how this girl had it done, but her hair is also much longer than mine.  No biggie.  I started a regular braid about half way down the back of my head, braiding about 4 inches.  I then grabbed a few strands of hair from underneath and wrapped them around the braid a couple of times.  Incorporating the rest of that hair, I started a french braid, randomly leaving out chunks of hair, wrapping that hair around the braid and then incorporating it back in.  When all of my hair was in the braid I continued with the braid, still leaving out chunks of hair, wrapping them around a couple of times and then incorporating it back into the braid.  At the end of the braid I secured it with an elastic and I was done.  I love that it didn't require any bobby pins.  Enjoy!!!

30 Days of HAIR!!!! Day 24!!!


Day 24!  This one required a bit more time, but was still relatively easy.  First I put my head upside down and grabbed a small section of hair at the base of my hairline and pulled it into a ponytail.  Then I made a hole in that section right before the elastic and then pulled the ponytail up through the bottom.  I then grabbed another small section of hair directly above the first and pulled that and the rest of the first ponytail into a ponytail and continued the same process, each time incorporating the hair from the last into the next ponytail and so on.  When I go to the front I put it in a pile on top of my head and secured it with bobby pins.  Enjoy!!!  Happy Happy Thanksgiving!!!

Wednesday, November 23, 2011

30 Days of HAIR!!! Day 23!!!


Here is another fast and easy one.  Although you will have to mutilate an old sock...hahah.  It is called a sock bun and here is an easy picture tutorial.  I think next time I will use a bigger sock.  Enjoy!!

Tuesday, November 22, 2011

30 Days of HAIR!!!! Day 22!!!


This could very well be my favorite of them all, although a good faux hawk will get me every time.  For this look I just started a french braid on the far right side of my head, right at the hairline and right above my ear.  The braid is super loose and I kept it below the hairline as much as I could(so it was super loose.  I love this one and it is super fast and easy.  Here is a tip for braiding your hair: Let it dry a little bit before you braid, but definitely not all the way.  That's where you get a lot of frizz and fly-aways.  Enjoy!!!

Monday, November 21, 2011

30 Days of HAIR!!!! Day 21!!!


Prom 2012, here I come!!!


Another try at the knot...still doesn't work...just checking.  Anyone tried it with straight hair yet?
I don't know why I feel the need to add extras, but I do.  These last pictures are another fail at the knot look.  On to the real look of this post.  I call it prom 2012.  This wasn't actually that difficult, but I can't say how difficult it would be with straight hair.  I sectioned off about an inch or two of hair all along my hairline and then started off center(of course) and did a french braid in either direction ending both in the middle in the back.  I tied this off with an elastic temporarily.  I then took random, but mostly even amounts of hair and rolled them up, as if there was a curler I was wrapping it around until I got to my scalp and then I used bobby pins to secure the little rolls.  I did this until all of the hair that wasn't braided was up.  Lastly I took the elastic out of the end of the braids and used the same process to secure them up.  Done.  As always, let me know if you have any questions!  Enjoy!!